June 16, 2026
In today’s digital age, the significance of virtual communication and collaboration has never been greater. Platforms like Zoom offer a seamless way to connect individuals across the globe. Whether it’s a business conference, an educational seminar, or a casual catch-up with friends, the ability to record Zoom meetings can be an invaluable tool.
Recording meetings can help participants revisit discussions, capture essential information, and ensure no detail goes unnoticed. This guide will walk you through the step-by-step process of recording Zoom meetings. We will explore various methods and settings to help you effortlessly document your virtual gatherings for future reference.
Yes, you always have a way to record your Zoom meetings. If you are hosting the meeting, you will be able to record Zoom meetings using its built-in recording features.
However, if you are only participating as an attendant, you can ask the host to record a Zoom meeting. You can then do so by using a built-in screen recorder.
We also understand that sometimes a participant needs to record a screen but doesn’t have the option to ask for it. In that case, you can still rely on a third-party screen recorder, which can be an efficient solution.
If you aren’t a host of the Zoom meeting, recording it may get overwhelming. Sometimes meeting participants don’t have the option to host about recording Zoom meetings. In that case, you can use an inbuilt Xbox game bar to record Zoom meetings without permission.
Do you want to learn how to use the Xbox game bar to record Zoom meetings without permission? Then here we have brought a step-by-step procedure for you to consider:
Always remember that changing the window size to max or min here can stop your screen recording automatically. So, you must avoid it. Let the recording continue until you want to exit.
You need to go to Videos and click Captures on your laptop or PC to access or check your recorded Zoom meeting.
*Important note*
However, the solution is available for Windows 10 only. So, if you use a Windows operating system version other than Windows 10, use a third party screen recorder like iTop Screen Recorder below.
If you are a meeting participant and want to record a Zoom meeting without approval, consider iTop Screen Recorder as your go-to solution here.
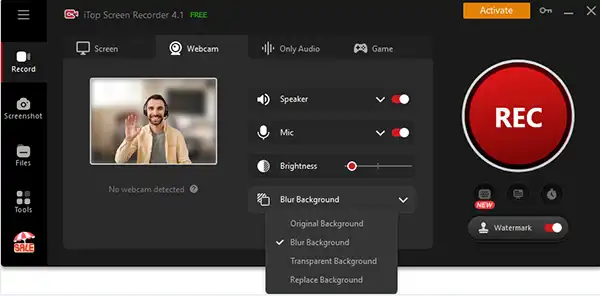
iTop Screen Recorder is a powerful screen recorder that you can use to capture Zoom meetings and create videos on your laptop or PC. You can use this screen recorder to record anything on your PC’s screen. Above all, this free screen recorder provides 4 screen recording modes. With these, you can record a webcam, screen, game, and audio clips quickly.
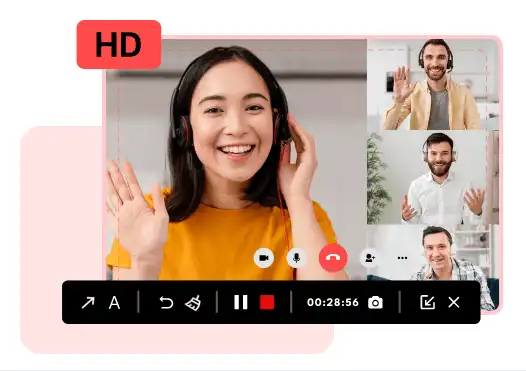
Fortunately, a recording screen with iTop Screen Recorder is the easiest. You must follow three simple steps to capture Zoom meetings in HD quality.

Here are the steps you need to follow here:
Mac has designed with creative purposes in mind. These creative purposes typically include video editing, recording, and more. So, it will allow you to record Zoom meetings without any hassle. Clicking a few keys from the keyboard will let you start capturing Zoom meetings on your macOS.
Here we have enlisted some of the easiest steps to follow to record Zoom meetings on Mac.
So, here we go:
The ability to record Zoom meetings opens up a world of possibilities. These possibilities range from preserving valuable insights to enhancing communication and creating a productive virtual environment. Recording Zoom meetings isn’t harder if you follow the instructions we have given. The steps we have enlisted will help capture Zoom meetings securely and accurately. So you can easily keep a record of your Zoom collaborations.
Ans: Yes, you can record Zoom meetings using its built-in screen recording feature. The fact is truer if you are a host of meetings or have permission to record the meeting. Otherwise, you must rely on a third-party screen recorder to record your Zoom meetings.
Ans: Yes, you can password-protect your Zoom meeting recording. When you record a Zoom meeting, you can set a password for the recording. This practice can add an extra layer of security to ensure that only authorized individuals with the password can access and view the recorded content. This feature is particularly useful when dealing with sensitive or confidential information discussed during the meeting.


Subscribe to our mailing list to receives daily updates!
Disclaimer: The information provided on the website is only for informational purposes and is not intended to, constitute legal advice, instead of all information, content, and other available materials.